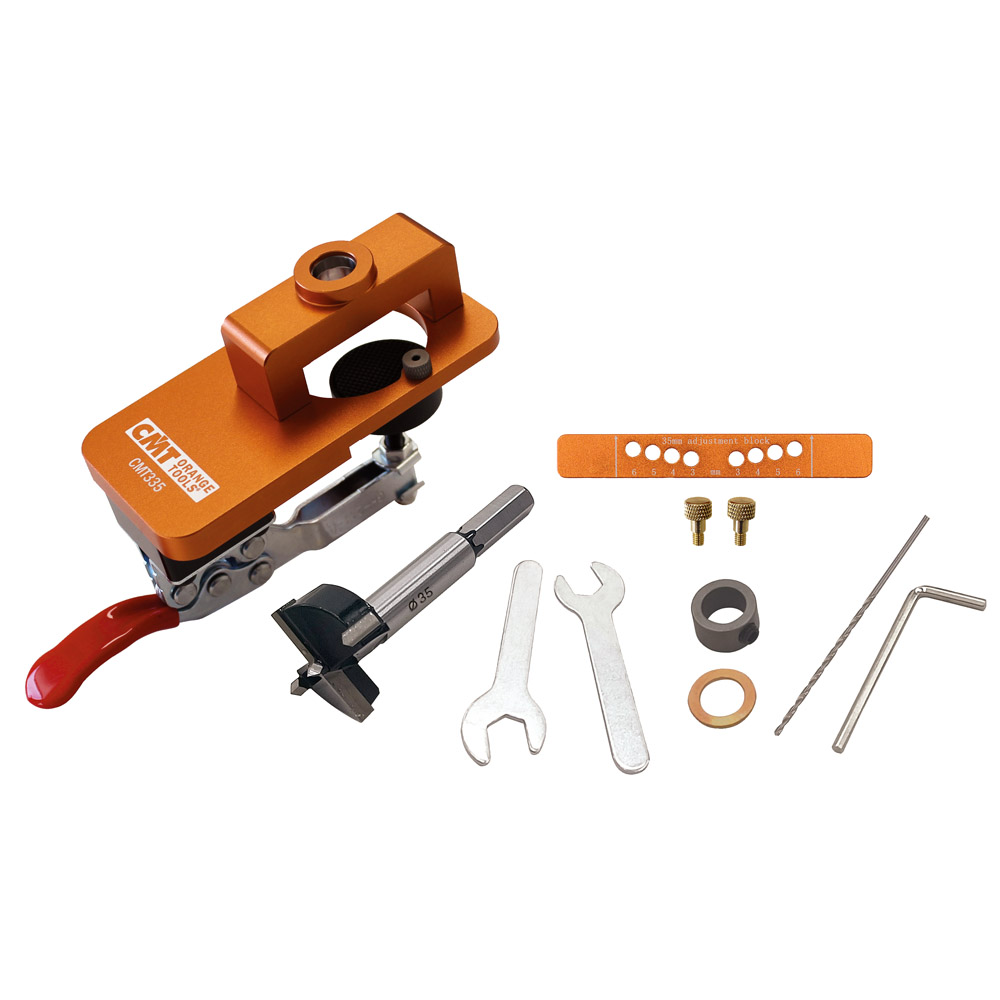
Portable 35mm hinge boring jig
CMT335
INSTRUCTIONS FOR USE
1. Lift the quick lever clamp [L] of the CMT335 (J) and insert the 35mm Hinge Boring Bit [A] with tip/cutting edge side up, into the hole
where the 12mm bearing [N] is housed.
2. Insert the spacer [E] and depth collar [F] on the shank of bit, then with the hex key [G] tighten the screw on the depth collar to lock it in
place.
3. Depending on the hinge model, adjust the desired drilling depth (max 13mm) by moving the depth collar [F].
4. Assemble the Adjustable Distance Bar [B] using the screws [C].
The arrows on the bar must point towards the Hinge Boring Bit.
The distance between the main hole and the panel’s edge can be adjusted by changing the screws’ positions in their respective holes (3-
4-5-6 mm) depending on the hinge model (the most common setting is at 5mm).
5. By loosening and tightening the nuts [M] with the 10mm Wrenches [D], you can determine the thickness (from 12 to 25 mm) of the ma-
terial you need to clamp with your jig.
6. Draw a reference line on the work piece. This line must correspond to the center hole of hinge bracket.
7. Secure your jig CMT335 to the work piece using the lever [L] and with the help of the reference spur [P]. Center it on the reference line.
8. Connect your drill to the Hinge Boring Bit and pressing the tool downwards, create the main hole for the hinge.
9. Mount the 2 mm Drill Bit [H] on your drill and make two small reference holes using the specific bushings [R].
10. Mount your hinge by securing it with two screws. The job is done.
THE PORTABLE HINGE BORING JIG CMT335 IS EXCLUSIVELY COMPATIBLE WITH 35MM HINGE BIT (Item: CMT335-35).
Download
Variations
Filter
| Item Code | Description |
|---|---|
|
CMT335
|
PORTABLE 35MM HINGE BORING JIG |

